
I use the Katrina's Sew Quick pattern for my soakers, which she has made public (and free!). You can find similar instructions on her blog here. While it may seem counterproductive to my business, I tell people if you can make your own, you can really save some money! That's how I started Winkydinks....soakers for myself, soakers for friends, trades with others, and then selling them. It took a little practice to get them uniform looking, but even if you are a beginner seamstresses you can sew these in no time (they don't have to be pretty to be functional)!
I'm not giving away any trade secrets here, this is a photo tutorial on how to sew a fleece soaker.
- Use a 1/4" seam allowance (for my machine, this lines up with the edge of my presser foot)
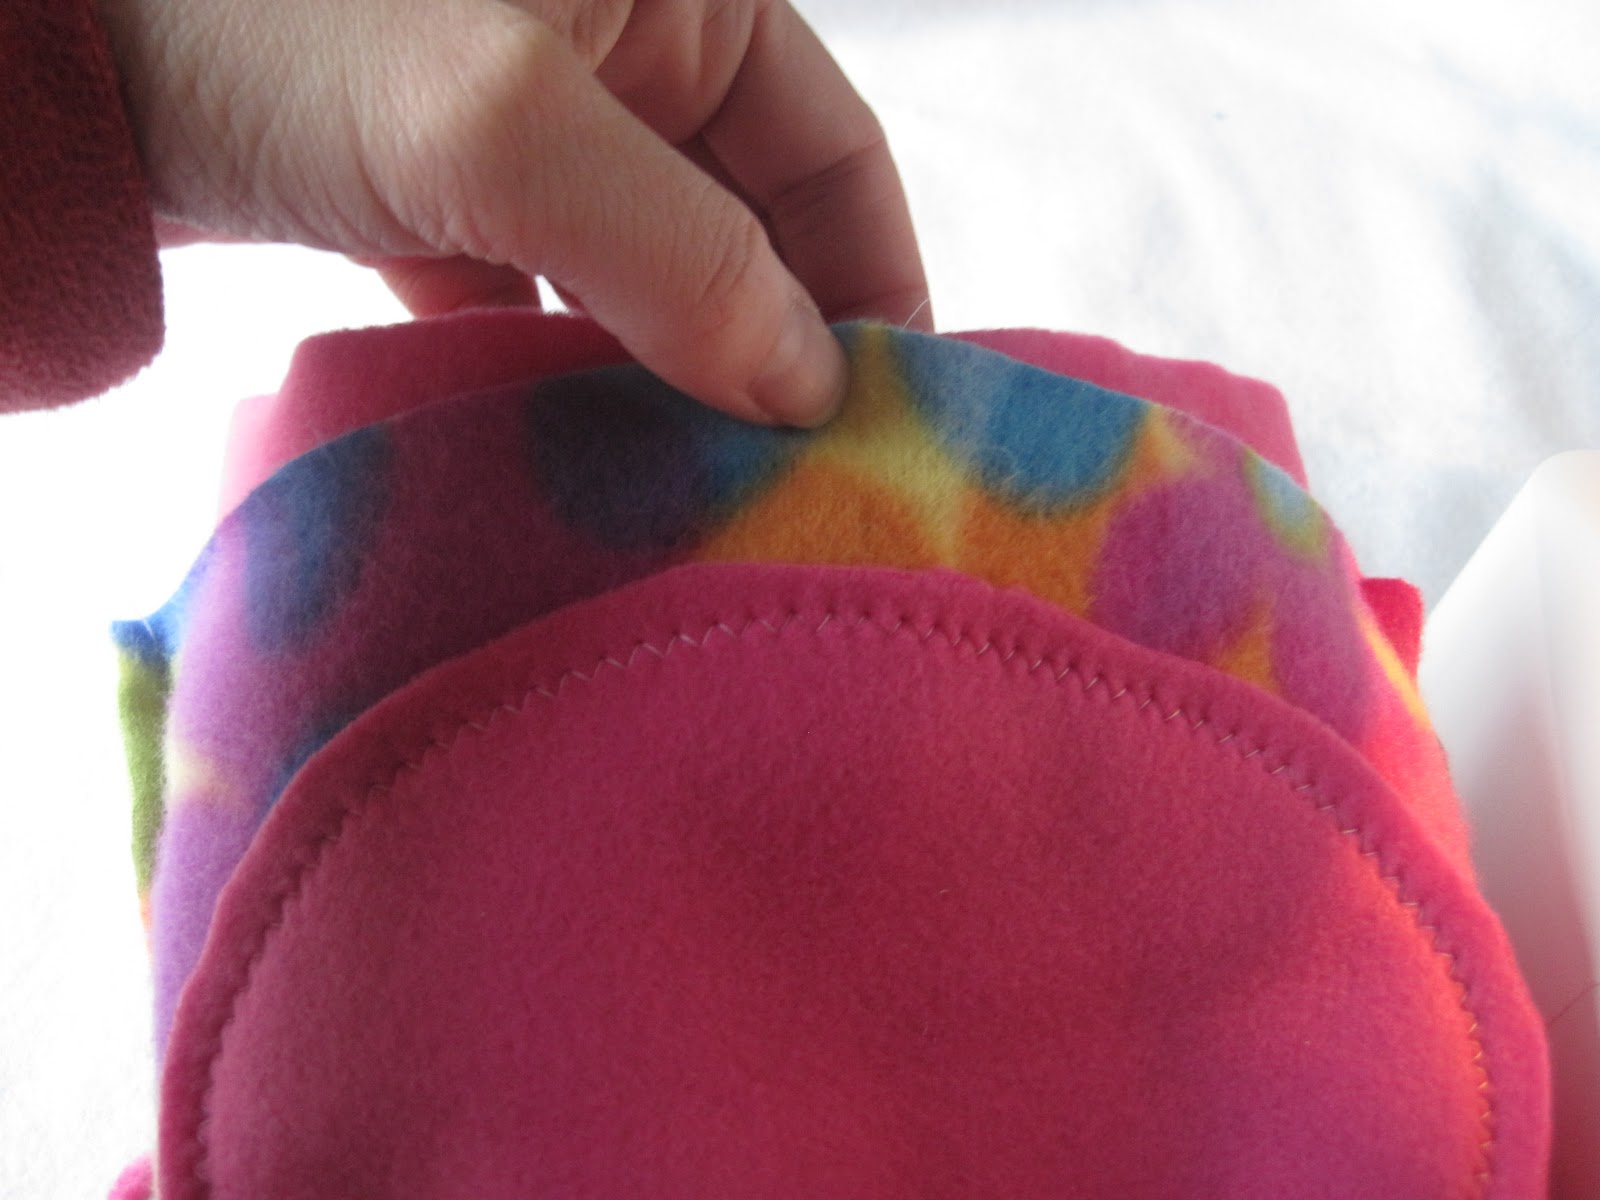
- Recommend using a good quality polyester thread. Matching is always good, but any color works. The one you'll see the most obviously is the zig zag on the doubler.
- You do not need to use a zig zag stitch - fleece will not unravel or fray. Using the zig zag on the hourglass soaker is purely a design preference (I find it's more forgiving when you don't sew exactly straight).
- Size Medium and up are generally easier to sew. The size Small legs can be a challenge, but you can do it! Note: these tutorial photos are of a size Large
- You can use a serger (except for the hourglass doubler portion)
- If you have problems with your zig zag stitch not working properly with fleece (some skipping stitches or straight stitches), try a new needle. I use a ballpoint needle #11 (light-medium fabrics). You don't necessarily need a stretch fabric needle.

Turn right side out. Fold sewn leg band, wrong sides together, making the cuff
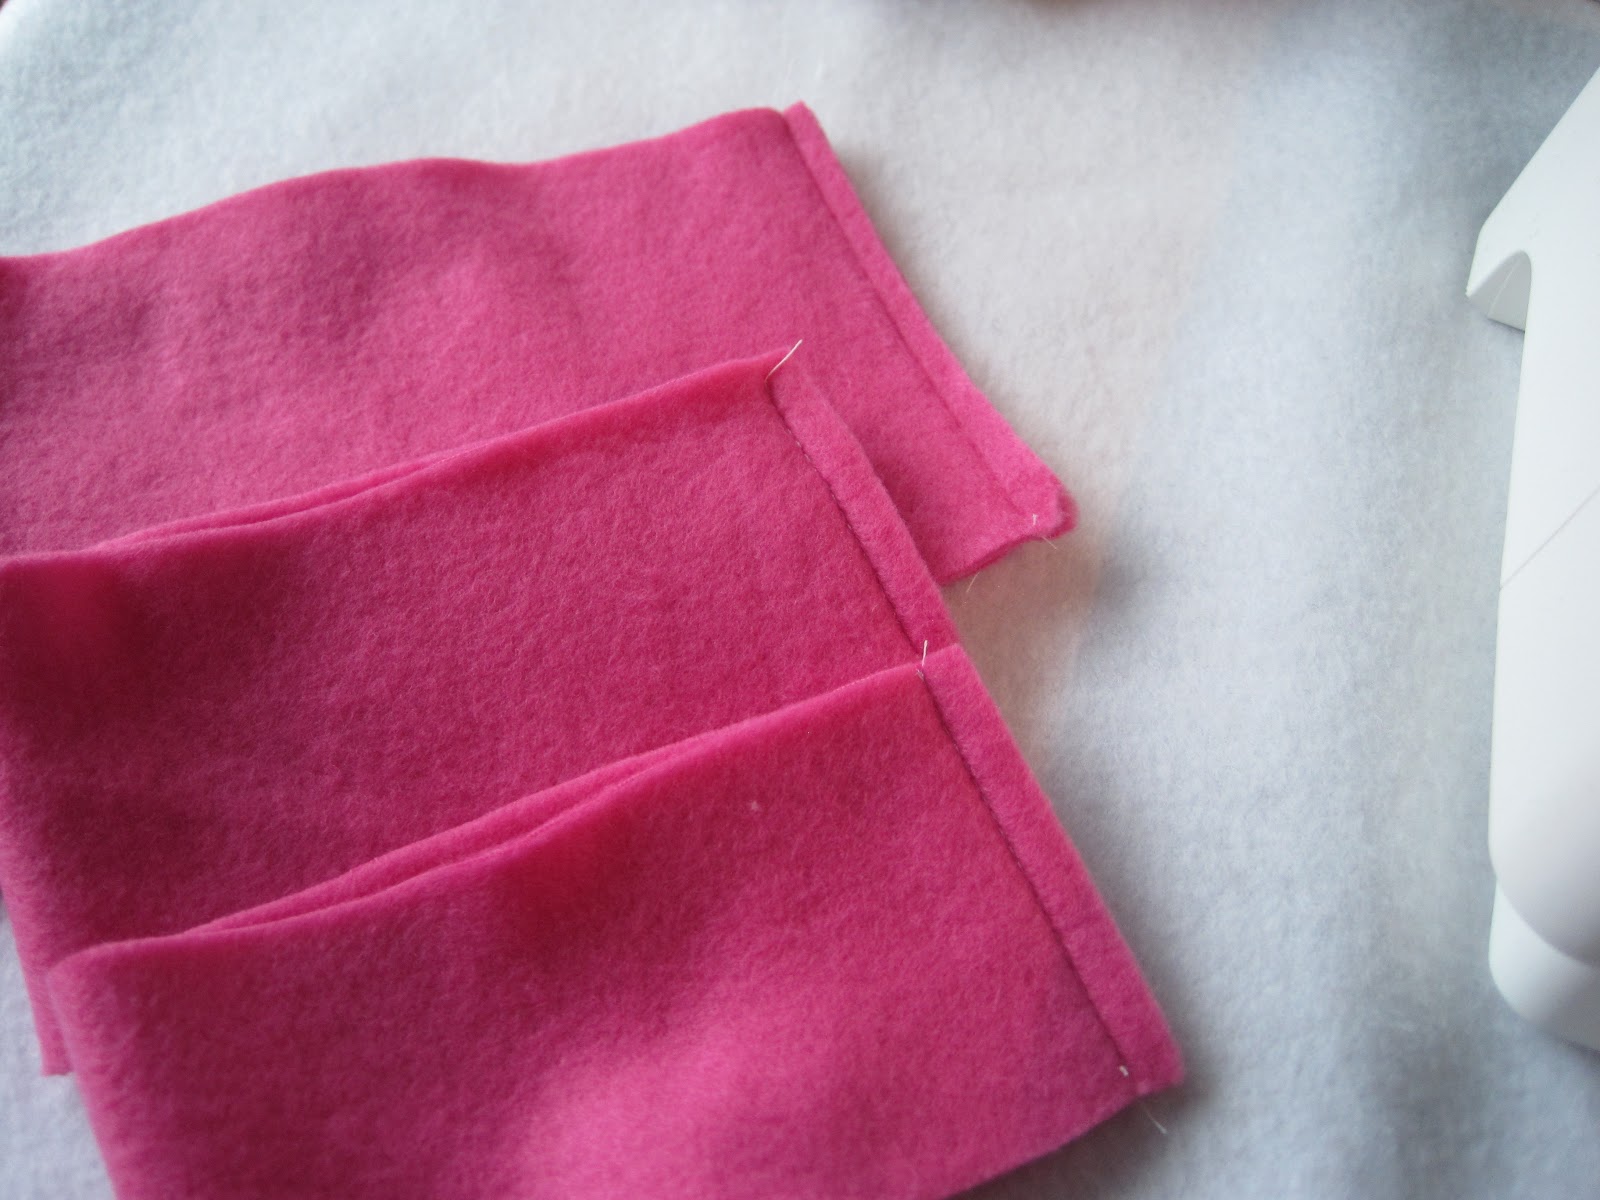
2. Attach the hourglass doubler (if any) Center the doubler on the body with wrong sides together. (place the soaker body wrong side up, and the doubler right side up), attach using a few pins for best results. The wider part of the doubler goes on the rear of the body.


3. Sew sides of body together With right sides together, sew up the right and left cut edges of the soaker body.

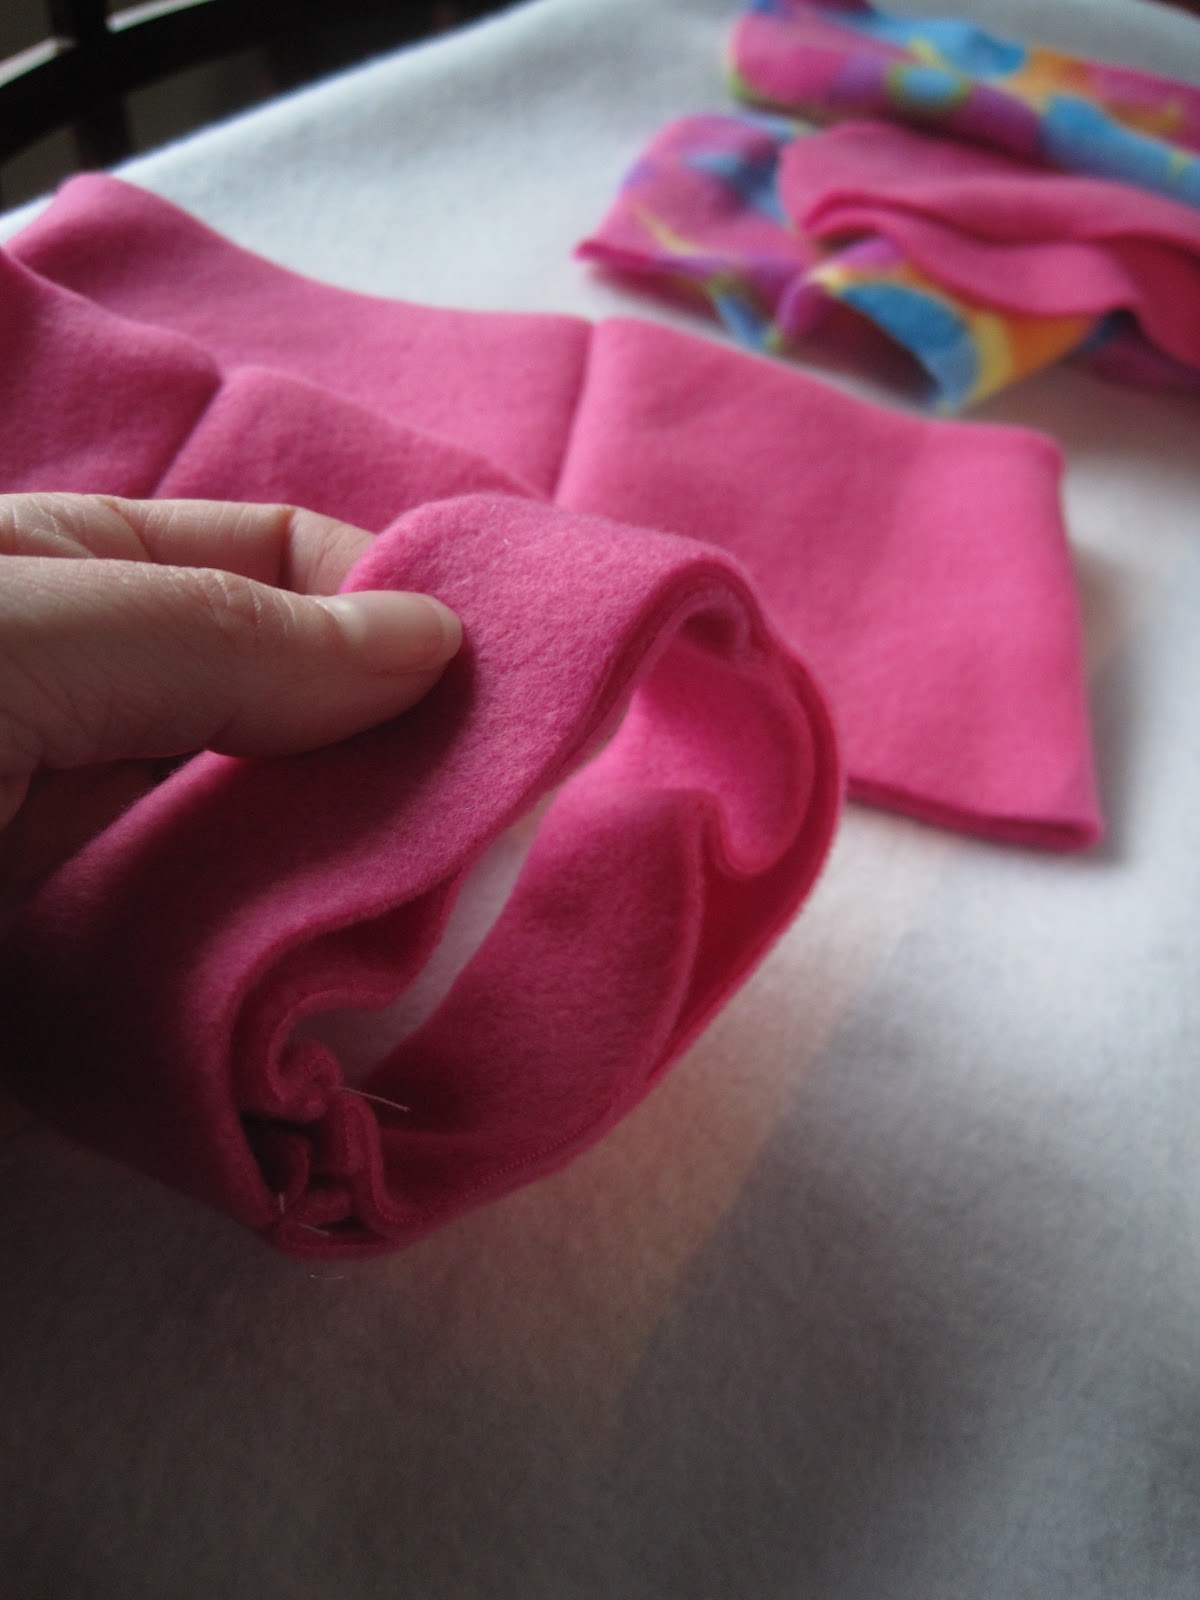
4. Attach leg bands With soaker body wrong side out, insert leg band so cut edges of leg band are aligned with cut edge of soaker body (folded side of leg band is inside soaker). I usually align the seam at the middle of the crotch. The right side of the leg band will be tucked inside the body, touching the right side of the soaker. (Note: Some people prefer to sew the trim with the body right side out; and put the bands on the outside. You can see the alternate method on Katrina's Sew Quick page)


Put the presser foot on the leg band so it is inside the leg hole. Sew along the cut edges.


TIPS:
- Stretch the legband a couple of times to make it easier to align with the opening.
- It's best to leave your needle in the down position to keep your whole garment from shifting as you re fiddling with the fabric.
- I have found (after lots of practice), that making an inch or so of stitches, then re-aligning works better than bothering with pins. Always keep the fabric stretched enough that it will reach your end point.
5. Repeat with other leg band.

6. Attach waist band Attach the waist the same way you do the legs. I align the waist seam at the middle of the rear soaker panel.

7. You will wind up with something looking like this (if you haven't turned out the cuffs yet).

8. Turn your soaker right side out, and marvel at your work!
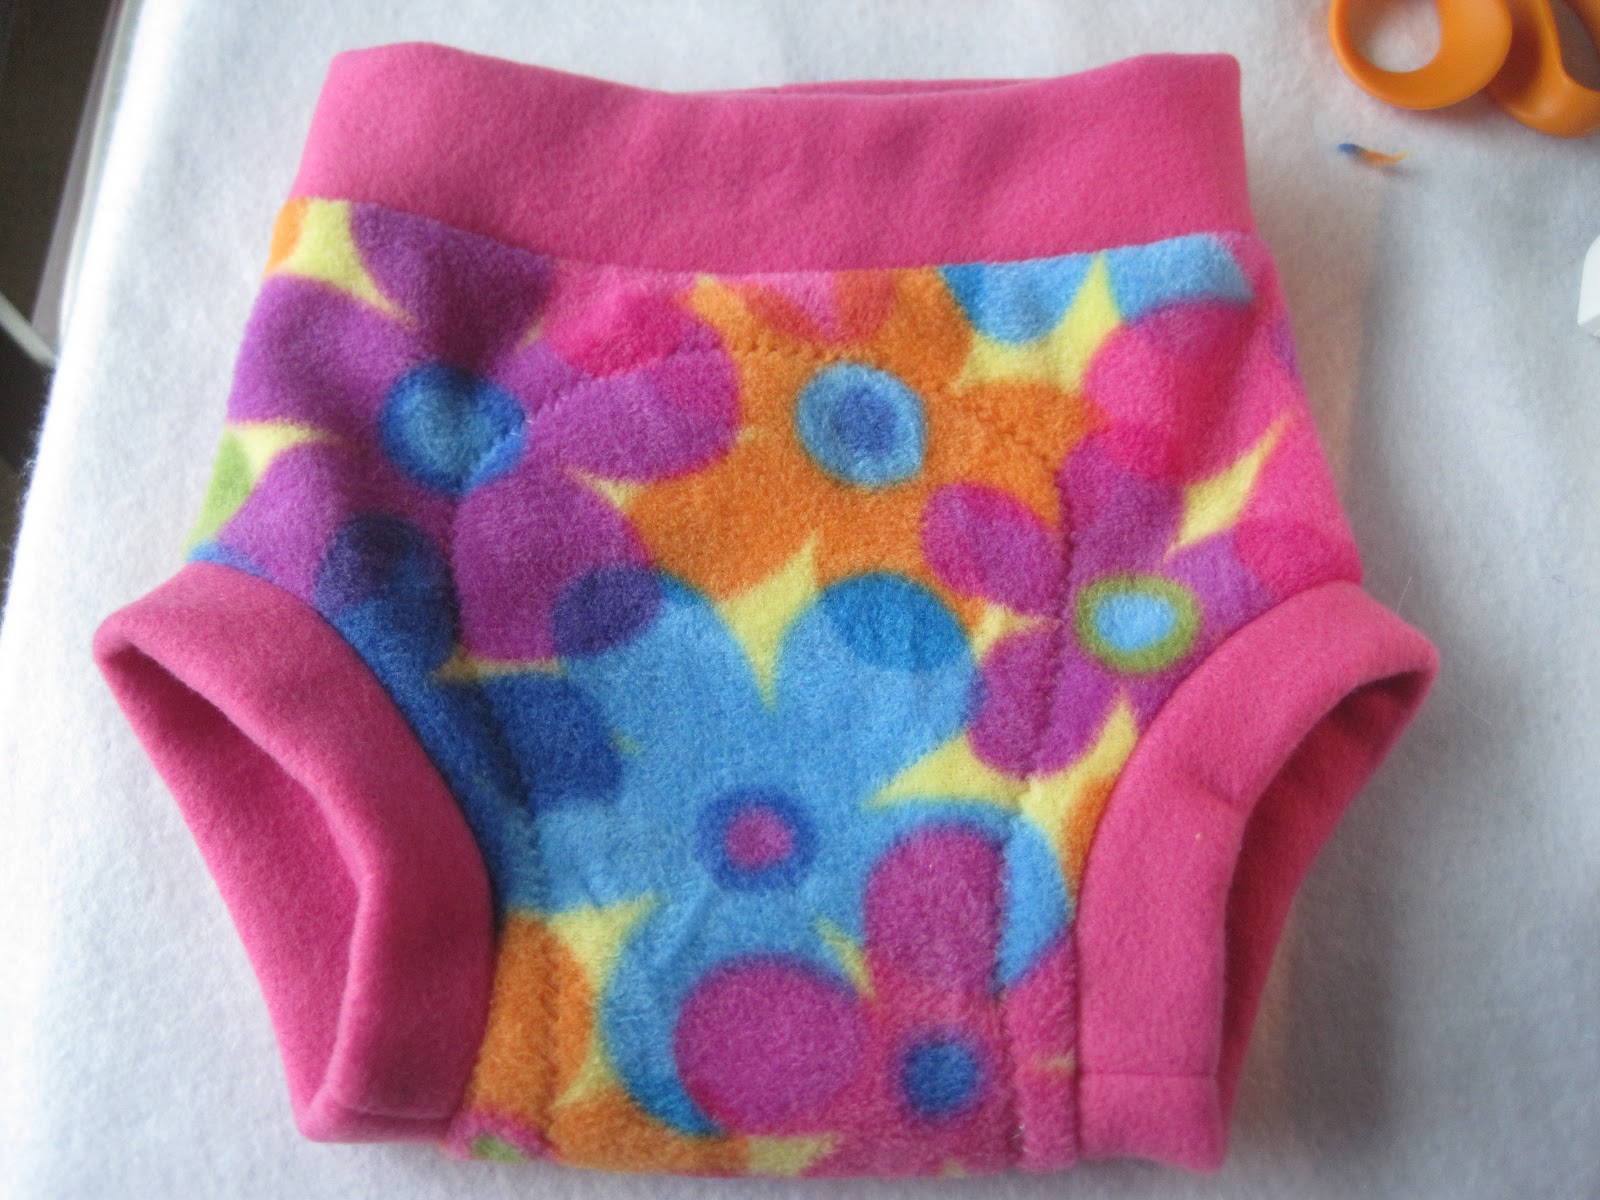
Once you are sure the seams are even and it looks how you like, turn it inside out again and trim up your seams by cutting the 3 pieces of fabric to be even with each other.

Congratulations!!!
Fleece soakers do not need to be washed before the first wear, unless you choose to do so. Remember you should not use any fabric softeners with your diapers, so it's easiest to avoid it on your soakers as well.
Here is an example of a size small soaker where the fabric wasn't pulled even while sewing the waist. Notice how it is all bunched up on one side. You can easily rip the seams and try again!


